Showing posts with label yellow. Show all posts

Sunday, January 26, 2025

Anne of Green Gables

As I mentioned in June last year, I was fortunate to have two of my books accepted into the Kindred Spirits Exhibit, a juried bookbinding exhibit organized by CBBAG. The exhibit is in recognition of the life and work of L. M. Montgomery, to mark 150 years since her birth. The exhibit is travelling to various galleries in Canada and is currently at Western Univerisity. The project website has the full exhibition schedule.

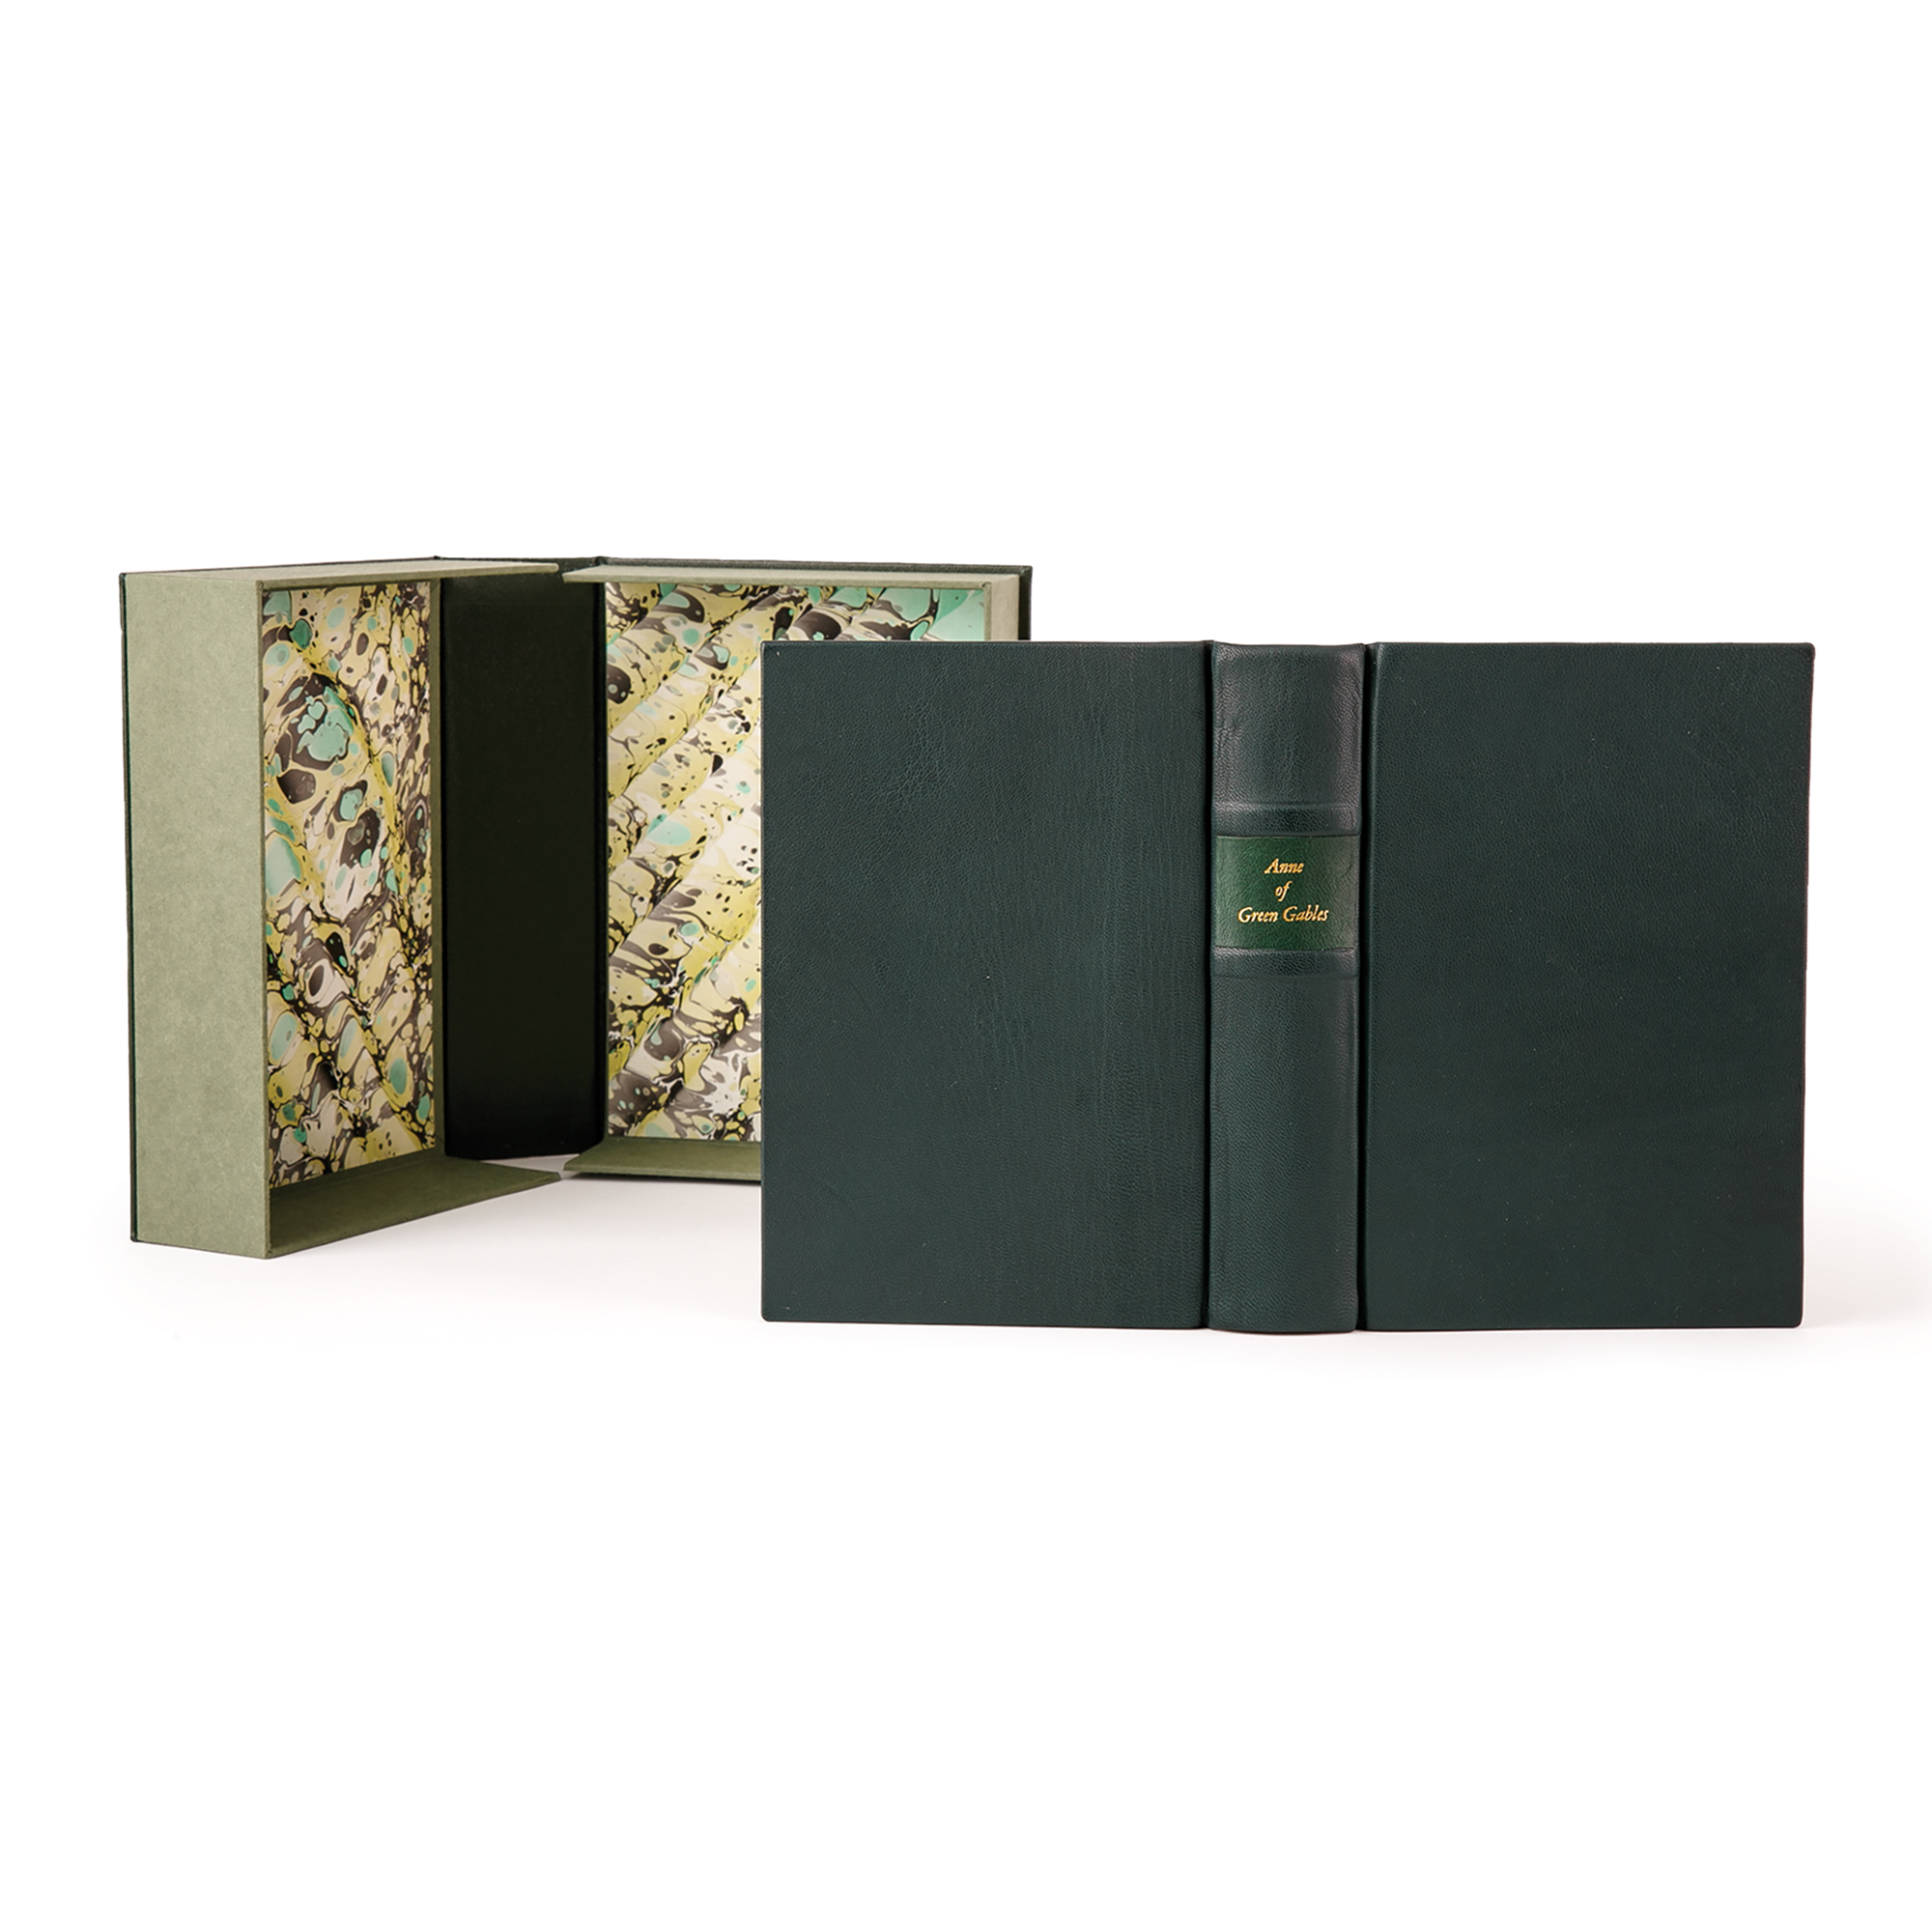
One of my books for this exhibit is a full leather rebinding of Anne of Green Gables. This is a 1952 edition that belonged to my mother. She gave it to me a few years ago and suggested that I repair it, since it had some damage to the covers and part of the spine material was missing. So, when this exhibit was announced, I deicded it was time to do something with it. I also made a custom box for it. The marbled paper is my own and it is used as the book's endpapers and inside the box.


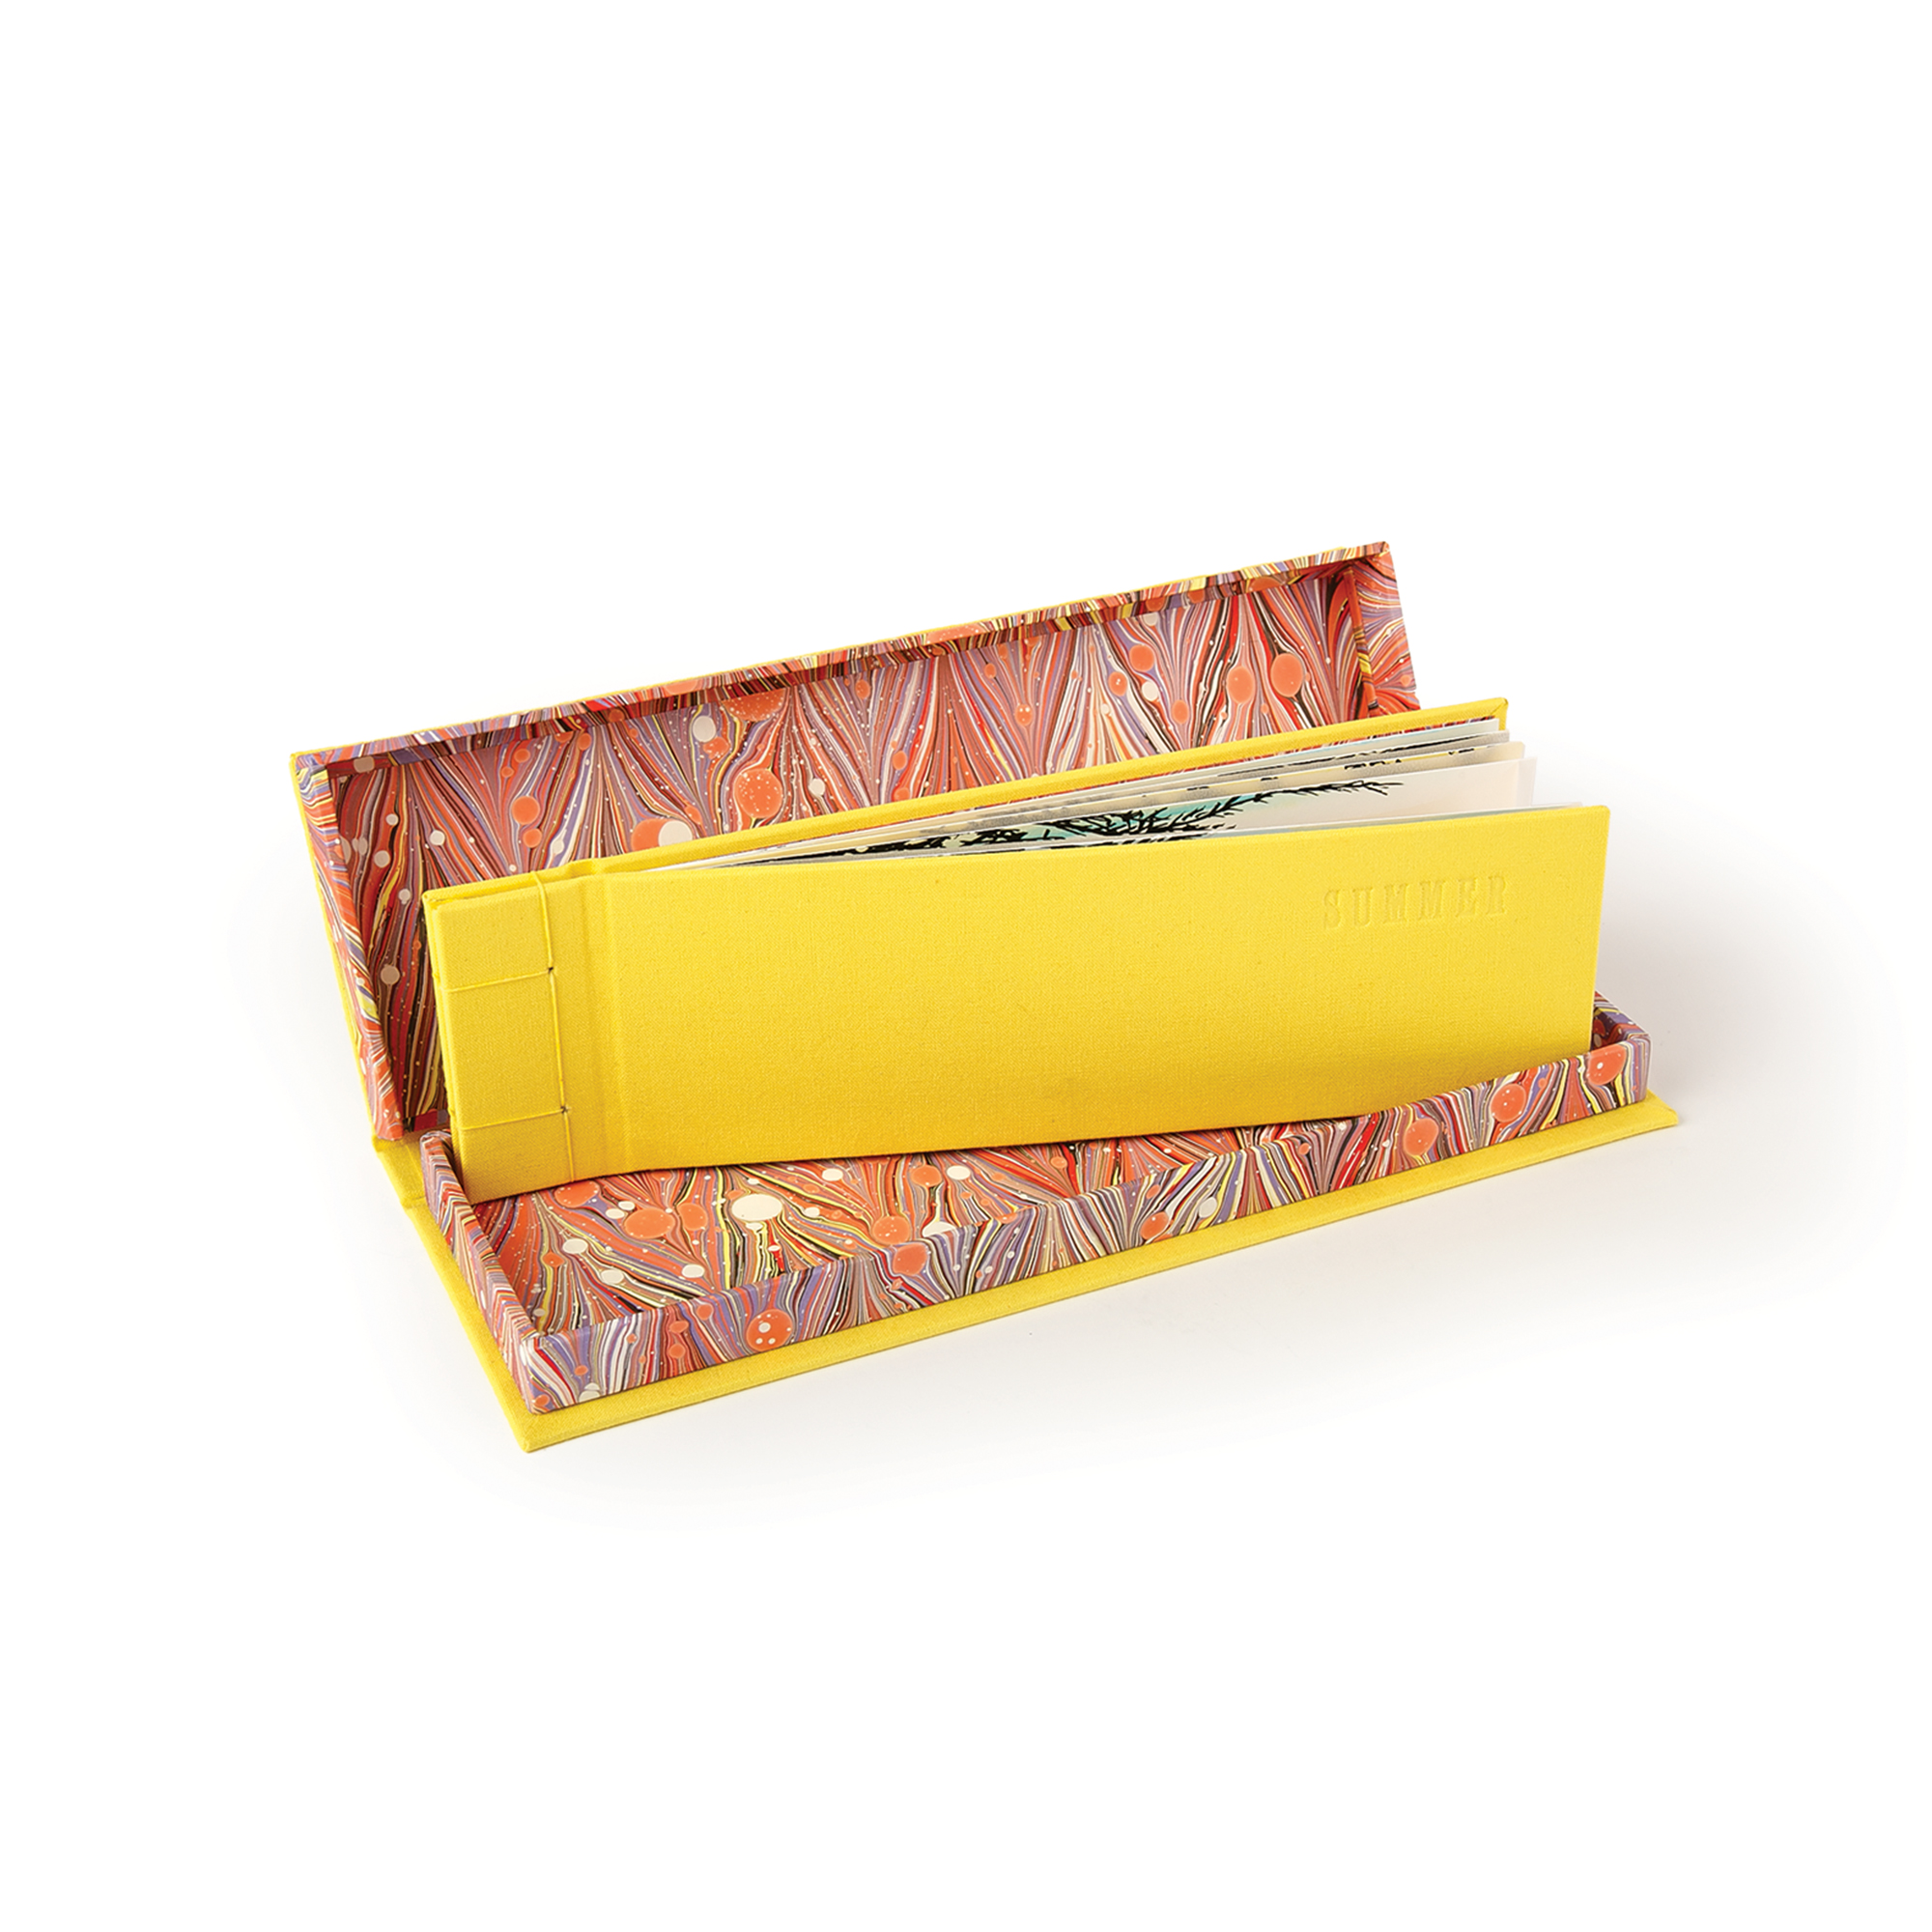
The second book is more of an artists' book, called "Summer." I used just a few lines from Anne of Green Gables as the content for this book.
Anne had the golden summer of her life, as far as freedom and frolic went. She walked, rowed, berried, and dreamed to her heart's content and when September came she was bright-eyed and alert, with a heart full of ambition and zest once more.
Each of the pages is hand-decorated with watercolour washes and ink drawings and I printed the text with some antique brass type. The book and box are covered with yellow bookcloth and have some of my own marbled paper inside. The book is a hardcover, 2-hole stab binding.


You can find more pictures of the books and order the catalog on the Kindred Spirits website.

Wednesday, January 06, 2016

Book #297

Star Book

Today's binding is the Star Book which is fancy accordion really. So it closes up like an accordion, but when open fully, it looks like a star. This structure has become very popular as a memory album since it can be attractively displayed. There are some good instructions and inspiration in the book "Outstanding Mini Albums".

Tuesday, September 22, 2015

Book #265

Pleated Accordion

This little book is a pleated accordion; the accordion is folded from a single sheet of paper in various directions, to create a more three dimensional shape when unfolded.

There are good instructions for various pleated accordion structures in Helen Hiebert's book, Playing With Paper.

Tuesday, September 15, 2015

Book #258

Rodback Binding

This is another structure devised by Arregui. This is a single signature binding. She also explains how to adapt it for multiple signatures, which I will show tomorrow.

Monday, August 17, 2015

Book #229

German Paper Binding 9

Today's German Paper Binding is the last one that I am going to do. I could probably mix and match the various structural features and come up with more, but I probably should move on to something new! The one I made for today is done with a full cloth cover, which is a variation that I wanted to try before I put these away. It also has a tipped-in single-folio endsheet and the spine is lined with muslin.

I also posted a new photo for Book #221, the first German Paper Binding that I made. I was not entirely happy with the first one so I made a new one that turned out much better.

Saturday, August 15, 2015

Book #227

German Paper Binding 7

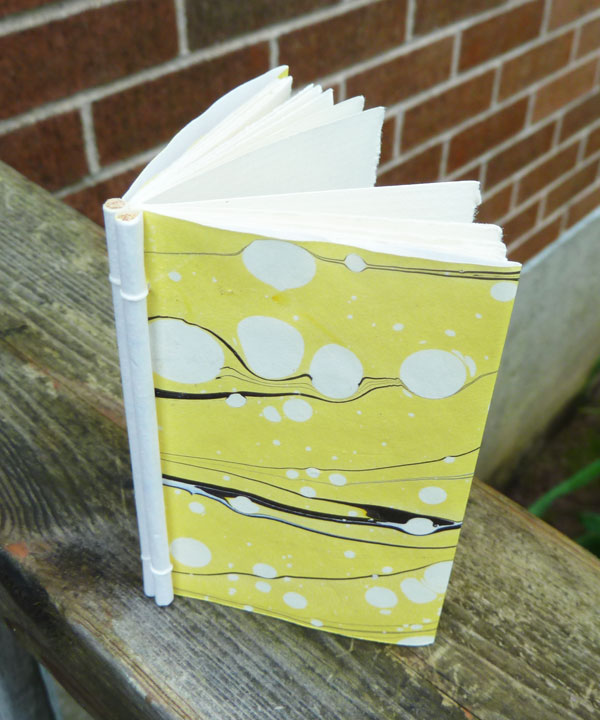
Another German Paper Binding variant today, and this time the difference is something I can show in the photo. Today's book was made with a hollow spine - which you can see in the top photograph. (I used a tube to make the hollow -- but upon further investigation, the tube is not typical on this kind of binding.) Otherwise, most of the structural elements are the same as previous versions. I like this refinement; this might be my favorite.

Friday, July 03, 2015

Book #184

Cross-Stitch

Creating the X pattern for this binding is just like doing cross stitch embroidery.

Sunday, June 28, 2015

Book #179

Supported Blanket Stitch

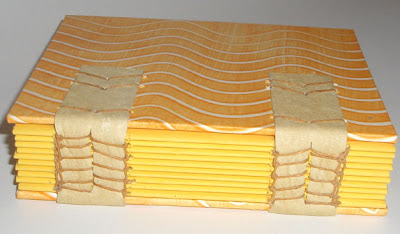
I showed an unsupported blanket stitch earlier this year, and now this is the supported blanket stitch, sewn onto split leather straps. I made this particular book in 2008 and presented it here on my blog with promises to make a better one. Seven years have passed and I never actually made another book using this binding technique! I still indend to do so, at some point...

Monday, March 23, 2015

Book #82

Fishbone Book

This was entirely new to me until just a few days ago and it was fun to experiment with it. This fishbone fold structure is another technique from Hedi Kyle with instructions on the Green Chair Press blog.

Thursday, March 05, 2015

Book #64

Crossed Structure Basic

This is an example of the Crossed Structure Basic that I really like making.

Monday, March 02, 2015

Book #61

Scroll in a box

This is another double-rod scroll format. The scroll is permanently bound inside a box where it can be rolled up in either direction to facilitate reading. As far as I know, there is no special name for a scroll in an box like this. Similar, but fancier, boxes are sometimes used for reading or displaying Qur'an and Torah scrolls.

Peter and Donna Thomas' book, "More Making Books by Hand", has instructions for making a scroll like this.

Sunday, March 01, 2015

Book #60

Two-rod Scroll

As I mentioned yesterday, I am going to present some different scroll formats. The single-rod scroll seems to have East Asian roots like the Makimono, but other cultures developed the double-rod scroll where the paper/parchment had a rod at each end so it could be rolled off one end onto the other while reading. Handy for very long texts, surely. It seems to be most commonly used for religious documents, specifically the Torah and the Qur'an.

I have searched the Web and my books, but cannot find any special name for this type of scroll. Please leave me a comment if you know of a special name given to this type of scroll with two rods.

Thursday, January 29, 2015

Book #29

Yotsume toji

This is an example of the basic 4-hole sewing pattern used for Japanese pouch bindings, or yotsume toji. Since I like to stay true to historical bookbinding techniques whenever possible, I have tried to duplicate all elements of this historic binding process including materials, tools, and techniques (not just the sewing pattern). There are some traditional variations to this binding that I will show in coming days.

Thursday, January 22, 2015

Book #22

Blizzard Book

One of Hedi Kyle's well-known structures is this, called the Blizzard Book. The pages of this structure are bound together using an intricately folded spine piece. I made this one with folded pages but the pages can also be individual flat cards so the structure lends itself well to accommodating simple printed pages.

Hedi Kyle's instructions for making this are in "The Penland Book of Handmade Books."

Sunday, January 11, 2015

Book #11

Sewn Chains

This is an example of a pamphlet bound using a chain stitch. Keith Smith calls this binding sewn chains but it is really just a traditional embroidery chain stitch adapted as a single-section pamphlet binding.

Tuesday, January 06, 2015

Book #6

Hardcover 3-hole Pamphlet
The first hardcover book that I ever made was a hardcover pamphlet, with a 3-hole pamphlet stitch sewing. Ever since then, I have always really liked this combination. This book has one signature, bound with a 3-hole pamphlet stitch. Then the signature is cased into a hardcover. This particular book has yellow leather on the spine and Japanese Chyiogami on the covers. The pages are a mixture of yellow papers from my extensive paper hoard.

This small journal is available in my Etsy shop, where there are additional photos of it too.

Friday, August 19, 2011

flickr friday - YELLOW

I like using the tags on Flickr. It's a great way to categorize and it's a very librarian-type-thing to do. There are about 57 photos in my Flickr photo pool right now, that I have tagged with YELLOW. Follow the YELLOW link to see them all. Or, here are a few of them, randomly selected using the Flickr badge tool:


Monday, May 05, 2008

Bookbinding 101 - Making Paste Paper

Making paste paper is fun and messy. It is a simple process where you smear coloured paste over a sheet of paper, then make patterns in it using whatever tools you have on hand. I haven't done a lot of it, but I tried it recently and took lots of photos. And now I'm finally getting it up here on my blog.

So the first thing you need to do, is make some paste. You need to make some paste using wheat starch or corn starch, some people use rice starch or even wallpaper paste. For most starch pastes, you will probably want to make it with a ratio of about 1:8 (one part starch to 8 parts water).

Divide the paste into two or three containers, one for each colour that you want to work with. Tint the paste using either acrylic or watercolour paint. I like to use acrylic paint since it is more water-resistant when it's dry. So, add paint and mix it until it is consistently coloured. Inexpensive paint will usually result in colours that are pale so I suggest using the best quality paint you can afford.

Gather a few things to use as pattern-making tools so that you'll have them close when you're ready for them. You could use combs, forks, sticks, bone folder, rubber stamps, sponges, crumbled paper bag, your fingers, or anything that will make a pattern when pressed into the paste.

Dampen the paper before you start - dip it in a tub of plain water, or use a spray bottle to mist the paper. Let it relax then brush your coloured paste over an entire sheet of paper. I am using 80lb drawing paper here, but it can be any paper that has decent wet-strength. I also tend to start with large sheets so that there is lots of room. But you could do small sheets. I spread the paste right to the edges and onto the table to make sure the whole sheet is covered. A bigger brush or sponge will help spread the paste more quickly. Try to get a nice consistent layer of paste on the whole sheet.


Once the paper is covered with paste, grab one of your tools and start making marks in the paste by dragging it over the paper, or pressing it like a stamp, to create whatever sort of design or pattern you like. You can criss cross lines in opposite directions, do zig zags, splotches, curvy lines...etc, whatever you can come up with.
My examples are really simple - but there is an art to this process and a lot of history; the masters produce some amazing pieces.

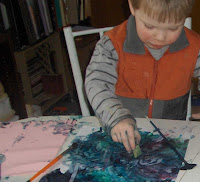
Of course, I had to show my little boy what I was doing, so here he is at the other end of the table, doing his own paste paper. Although for him, it was really just finger painting.

If you don't like what's happening on your paper, grab the paintbrush and brush it out and start over again! Or try just adding another design over top of the first one, moving in the opposite direction.

When you are finished making the patterns, leave your paper to dry flat. When it's dry, the paper will likely be stiff and maybe curled at the edges. It can be flattened by pressing or you could try a not-too-hot iron. Though, you can also wax and/or burnish the papers if you have time, which will make them look really nice and they will be flat and less stiff.
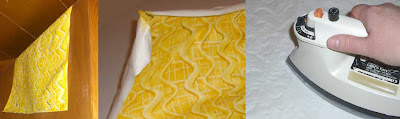

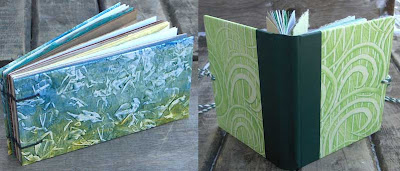
This is what my yellow paper looked like when I was finished - and then later it was used on the covers of this little hardcover book.


More papers...


More books...


So that's how to make paste paper. Basically. If you're really interested in mastering this, there are some books available. But before you go, check out some of these links to see some great examples:

- Madeleine Durham's paste papers
- Paste papers by Sage Reynolds
- Paste papers by Peggy Skycraft
- Historic paste papers
- Paste papers by Threadborne
Thursday, June 21, 2007

Summer collection

I do a lot of work in brown. Various shades of brown and tan seem to be the most popular for my leather journals. Followed by black and red. But a lot of brown. I got an order this morning for two big journals, one brown and one black. Nothing new there.

But before I do any more brown books, I had to finish my little "summer collection" to brighten things up a bit. The other day I pulled out all my most colourful leathers and papers to see what I could come up with.

So I ended up with teal suede with blue paper, orange leather with white paper and pink fastener, dark pink leather with light pink paper, light blue leather with grey paper, black with green paper, black with yellow paper, and salmon with cream paper! All are small, 5.5"x4.5" or smaller. I listed the little salmon book on Etsy today.

Now, back to the browns.